How to configure: Netgear Smart Switch GS724T Setup Guide
Content
Introduction Netgear Smart Switch GS724T
Netgear Smart Switch GS724T is a powerful and feature-rich network switch designed to meet the demands of small to medium-sized businesses. This 24-port Gigabit smart switch offers advanced features such as VLAN support, Quality of Service (QoS), and link aggregation, making it an ideal choice for businesses that require a reliable and high-performance network infrastructure. The estimated price of the Netgear Smart Switch GS724T is around $300 to $400, and it was launched in the market in 2016.
Verify Package Contents
- NETGEAR Smart Switch
- Rubber footpads for tabletop installation
- Power cord
- Rack-mount kit for installing the switch in a 19-inch rack
- Installation Guide
- Smart Switch Resource CD that includes the Smart Control Center Utility and GS716T/GS724T Series Hardware Installation Guide. (A link to the online GS716T/GS724T Software Administration User's Manual is on the Resource CD.)
Netgear Detailed Specifications
The Netgear Smart Switch GS724T comes with the following key features:
- 24 Gigabit Ethernet ports
- 2 additional SFP ports for fiber optic connectivity
- VLAN support for network segmentation and security
- Quality of Service (QoS) for optimizing network traffic
- Link aggregation for increased bandwidth and redundancy
- Web-based management interface for easy configuration and monitoring
- Energy-efficient design for reduced power consumption
- Lifetime warranty and technical support from Netgear
Preparing Ethernet adapter
- Prepare a PC with an Ethernet adapter and a CD ROM drive.
Install the Smart Control Center
Next, Install the Smart Control Center Utility on a PC
- Insert the Resource CD into your CD drive.
- Run the Setup program to install the Smartwizard Discovery. The Installation Wizard will guide you through the installation.
Connect Your Smart Switch GS724T
These instructions assume you are using DHCP in your network. If you are using static IP addressing in your network, configure the switch IP address before connecting it to your network. In the absence of a DHCP server, the switch will default to 192.168.0.239 for its IP address. To configure the switch before connecting it to your network:
- Set up the PC with a Static IP address in the 192.168.0.x subnet, and connect the PC to the switch. Then, use the Smart Control Center Utility to configure the switch.
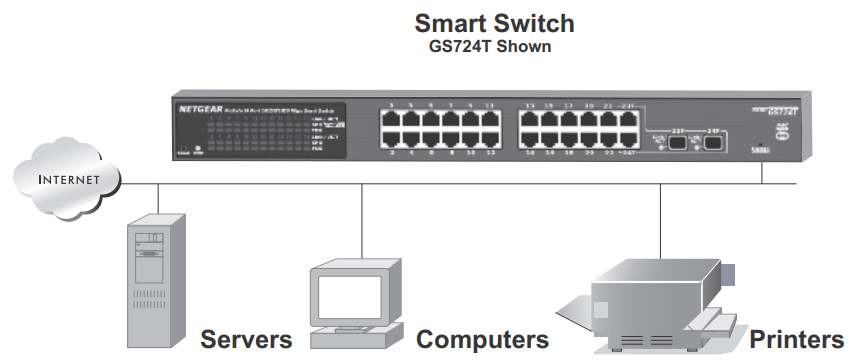
- Connect each PC to an RJ-45 network port on the switch front panel.
Use category 5 (Cat5) unshielded twisted-pair (UTP) cable terminated with an RJ-45 connector to make these connections. - Connect the switch to your network.
- Power on the switch.
- Verify that the PC with the Smart Control Center Utility is on the same subnet as the switch.
Configure Your Smart Switch
Double-click the Smart Control Center Utility icon on your desktop or in Windows Start menu Programs to run the utility and view this screen.
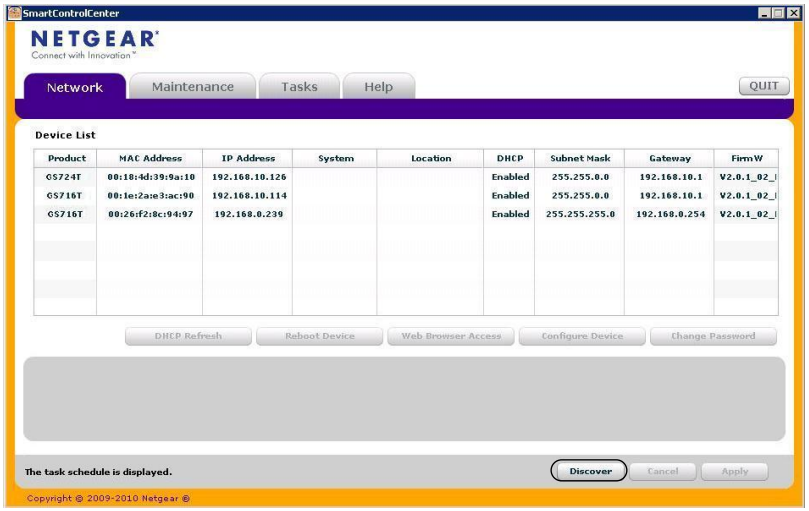
Click Discover to find your switch in the network.
The Smart Control Center Utility finds the switch and displays its MAC Address, IP Address, and model number. If you cannot configure your switch, verify that the cable connections are secure, that the IP address configuration of the PC is in the same subnet as the switch, and click the Discover button.
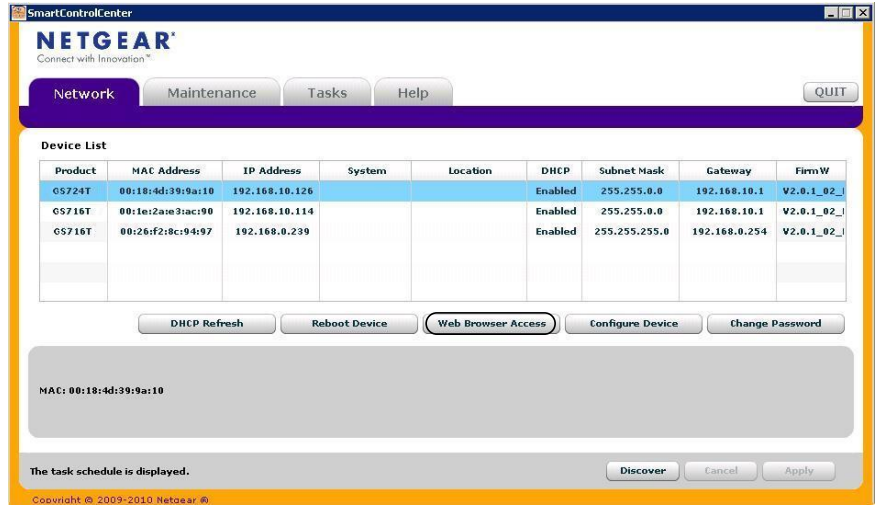
- Click to select the line displaying the details of your switch. If there are multiple switches in your network, be sure to select the one you want to configure.
Click Web Browser Access to view the switch log in screen.
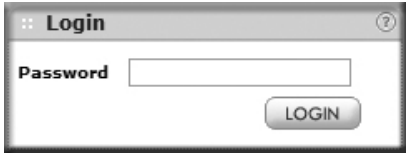
Enter the default password of password in lower case letters and click Login. The switch will display the switch settings main page. Configure the switch for your network. Consult the Reference Manual on the Resource CD or the online help in the switch for assistance with configuration procedures.
After you log in to the switch, the main Web Browser Access menu displays. Use the configuration menu options to configure your switch.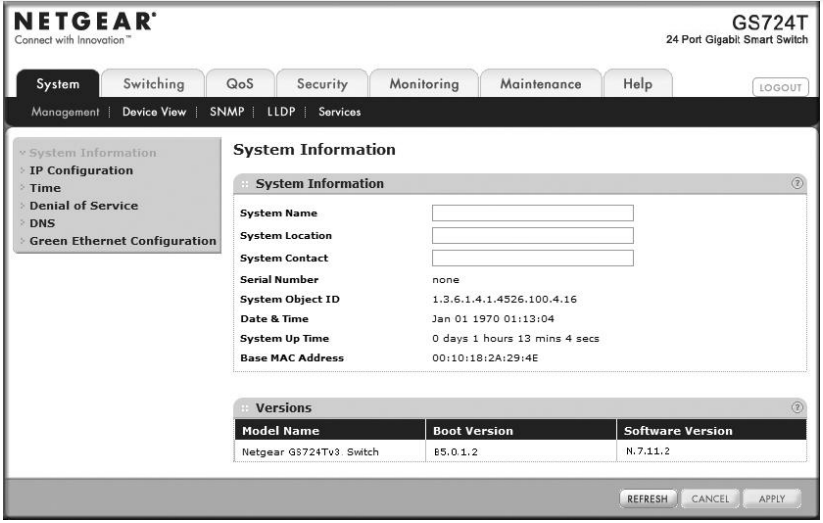
Smart Switch GS724T Description
The Netgear Smart Switch GS724T is a versatile and scalable network switch that offers advanced features to help businesses optimize their network performance and security. With its 24 Gigabit Ethernet ports and 2 SFP ports for fiber optic connectivity, this switch provides fast and reliable network speeds for data, voice, and video applications. The VLAN support enables network segmentation and security, while the QoS feature ensures that critical applications receive priority traffic. The link aggregation feature increases bandwidth and redundancy, ensuring that the network remains available even in the event of a link failure. The web-based management interface provides an easy-to-use interface for configuring and monitoring the switch, while the energy-efficient design helps reduce power consumption and operating costs.
Setup Guide
Setting up the Netgear Smart Switch GS724T is a straightforward process:
- Connect the switch to a power source and connect the Ethernet cables to the desired ports.
- Connect a computer to one of the switch's ports using an Ethernet cable.
- Open a web browser and enter the switch's IP address in the address bar.
- Log in to the switch using the default username and password (admin/password).
- Configure the switch settings as desired, such as VLANs, QoS, and link aggregation.
Troubleshooting of Netgear Smart Switch GS724T
If you encounter any issues with the Netgear Smart Switch GS724T, try the following troubleshooting steps:
- Check that all cables are securely connected and that the switch is powered on.
- Ensure that the switch's IP address is correctly configured and accessible from the network.
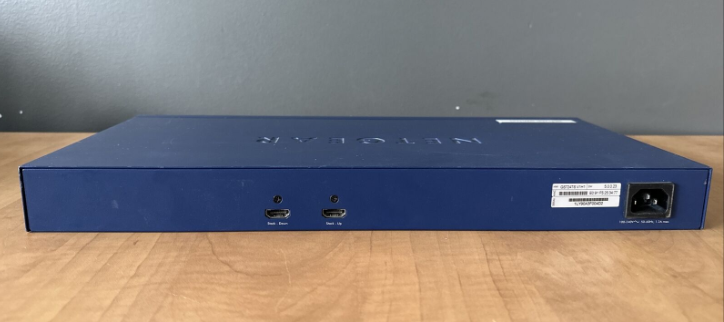
- Reset the switch to its default settings using the reset button on the back of the unit.
- Check for any firmware updates for the switch and install them if necessary.
- Contact Netgear technical support if the issue persists.
TIPS: Here are some tips for correcting simple problems you may have.
- Be sure to power on your PC and switch in the correct sequence. Follow this sequence. Turn off the switch and computer. First, turn on the switch and wait two minutes. Next, turn on the computer.
- Make sure the Ethernet cables are securely plugged in. For each powered on computer connected to the switch with a securely plugged in Ethernet cable, the corresponding switch LAN port status light will be lit.
- Make sure the network settings of the computer are correct. In most cases, computers should be configured to obtain an IP address automatically via DHCP. For help with this, refer to the GS716T/GS724T Reference Manual; a link to the online Reference Manual is on the Resource CD.
Pros & Cons
Pros
- Fast and reliable network speeds
- Advanced features such as VLAN, QoS, and link aggregation
- Easy-to-use web-based management interface
- Energy-efficient design
- Lifetime warranty and technical support from Netgear
Cons
- May be overkill for small businesses or home networks
- Higher price point compared to basic network switches
- Limited number of SFP ports for fiber optic connectivity
Customer Reviews about GS724T
Customers have praised the Netgear Smart Switch GS724T for its fast and reliable network performance, as well as its advanced features such as VLAN and QoS. However, some users have noted that the switch can be overkill for small businesses or home networks, and that the price point is higher compared to basic network switches. Some users have also reported issues with the switch's fan noise, but this is a relatively minor issue.
Faqs
For what is the Netgear Smart Switch GS724T made?
How does the Netgear Smart Switch GS724T VLAN work?
How does the Netgear Smart Switch GS724T work, and how good is it?
Can I set up the Netgear Smart Switch GS724T for Quality of Service (QoS)?
How do I access the web-based management interface for the Netgear Smart Switch GS724T?
How do I reset the Netgear Smart Switch GS724T to factory settings?
How can I manage my Netgear Smart Switch GS724T?
Will the IPv6 protocol be supported by the Netgear Smart Switch GS724T?
Does the Netgear Smart Switch GS724T have support for virtual local area networks (VLANs)?
What is the length of time that the Netgear Smart Switch GS724T is covered under warranty?
Leave a Comment